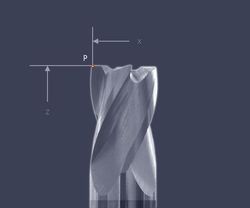
Vertical and Horizontal Dimensions, Radius, and Angle of Standard Cutting Tools
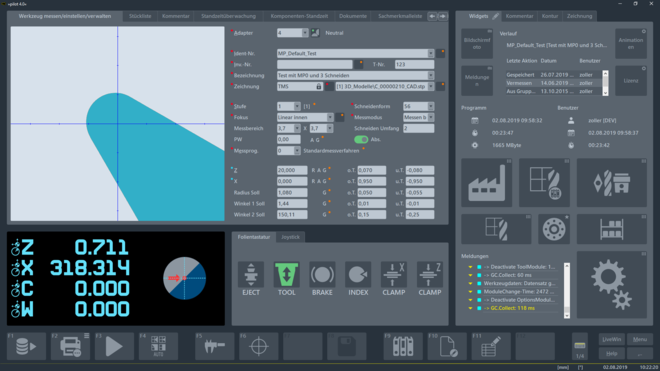
Measuring program for the simple measurement of vertical and horizontal dimensions, radius and angle of standard cutting tools.
———————————————————————————————————————————————————————————————————————————
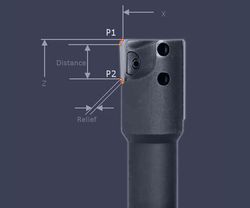
Oversize Method
Measuring program for the measurement of cylindrical reamers without support bar by oversize method.
———————————————————————————————————————————————————————————————————————————
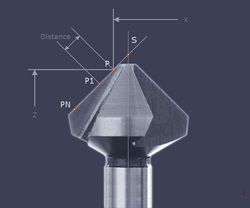
Theoretical Tip
Measuring program for the determination of the theoretical tip at tapered cutting tools over several measuring points.
———————————————————————————————————————————————————————————————————————————
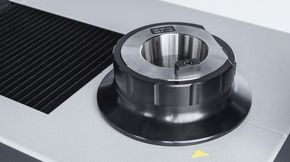
Autofocus for »pilot«
Using the CNC controls for the spindle (C axis), the cutting tool edges on multi-insert cutters are also automatically approached and focused. This guarantees user-independent measuring results.
———————————————————————————————————————————————————————————————————————————
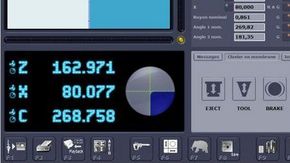
Precise/exact angle measurement
The rotation sensor positions the C axis fully automatically to the target angle. This allows the highly-precise measurement of spiral angles and divisions, as well as wobble compensation.
———————————————————————————————————————————————————————————————————————————

Manual fine setting
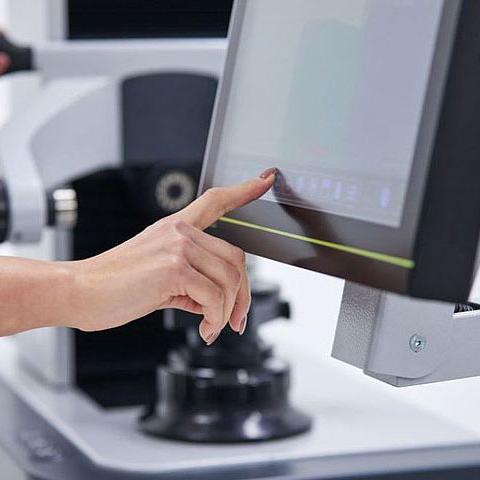
Hand wheels simplify the fine adjustment of the X and Z axes specifically for tool inspection.
———————————————————————————————————————————————————————————————————————————
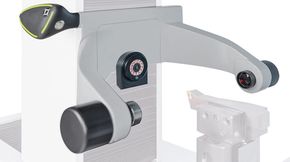
Center height measuring
A perfectly preset rotation center increases the tool life and thus reduces your tool costs. Simultaneously, you shorten fitting times, prevent rejects and improve the quality of your workpieces.
———————————————————————————————————————————————————————————————————————————
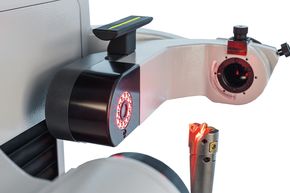
Tool inspection For axial and radial inspection and testing of the contours of radii, angles, distances and wear and tear in incident light, with 50-times magnification of the cutting tool edge.
———————————————————————————————————————————————————————————————————————————
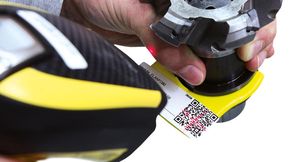
»zidCode« with labels With »zidCode«, data is quickly and easily printed onto labels and can be scanned directly into the CNC machine control. This means data transmission without errors.
———————————————————————————————————————————————————————————————————————————

Manual tool identification The read/write head is moved manually over the RFID chip on the tool holder. This chip can then be read and written to.
———————————————————————————————————————————————————————————————————————————
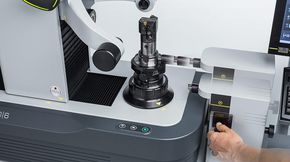
Semi-automatic tool identification The read/write unit is moved manually in the Z direction at the height of the RFID chip on the tool holder. The read/write head is moved in the X axis by the CNC controls. When the read/write unit detects the RDIF chip, it can be read and written to.
———————————————————————————————————————————————————————————————————————————
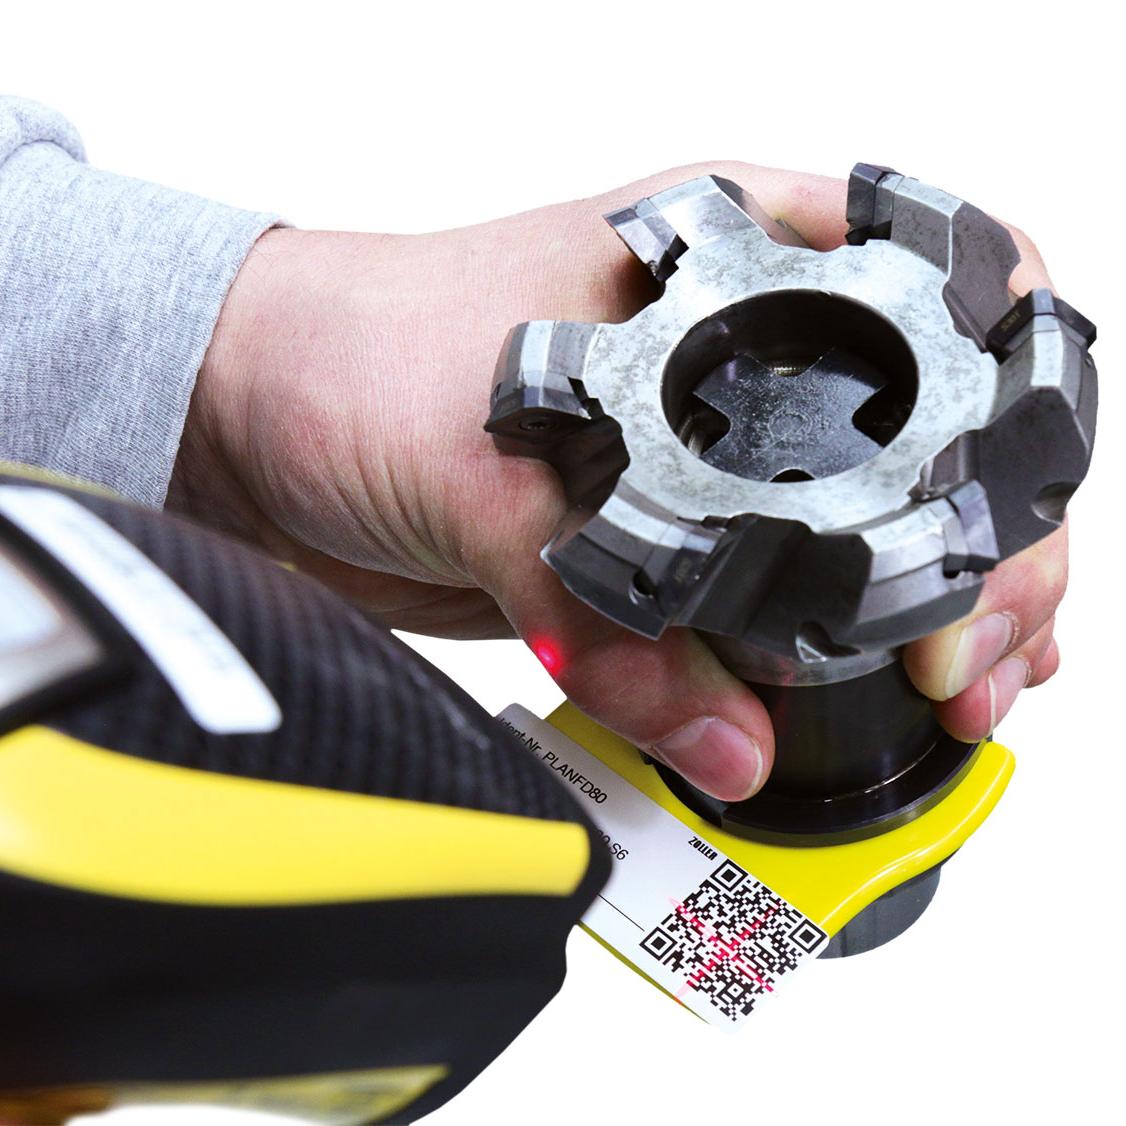
»zidCode«
The efficient solution for tool identification and data transfer
———————————————————————————————————————————————————————————————————————————
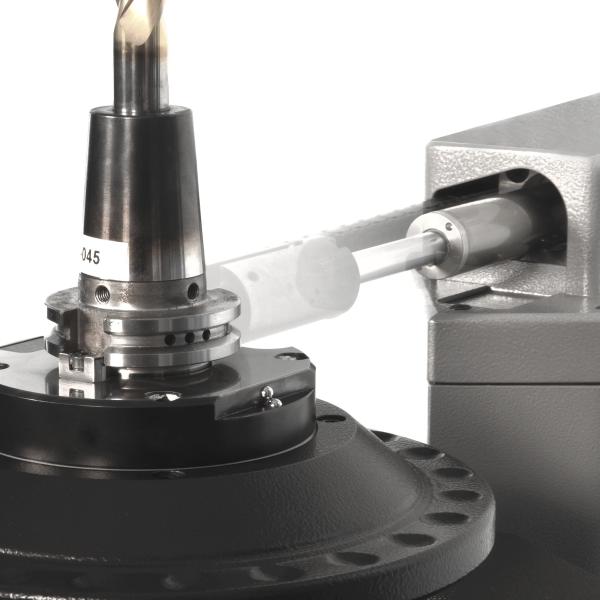
RFID Chip
Fast way to the tool identification and data transfer
———————————————————————————————————————————————————————————————————————————
Post Processor
Data output with DNC system prepared in a controller compatible manner
———————————————————————————————————————————————————————————————————————————

DataMatrix Code
Safe, quick and guaranteed error-free data transfer to your CNC machine
———————————————————————————————————————————————————————————————————————————



 Phone : +66(0)63-356-6868